You and I both know how important it is to have a well-functioning brake on the bike. It is clearly the most important safety issue.
However, after using the same cable of a brake for a certain period of time, you have to readjust the cable for the proper functioning of the brake. Here is everything you need to know about adjusting the bicycle disc brake cable.
Some Important Aspects
Before you learn about adjusting the cable of the disk brake, here are a few important things you need to keep mind. You should first know if your brake is functioning properly or not. It depends on the following.
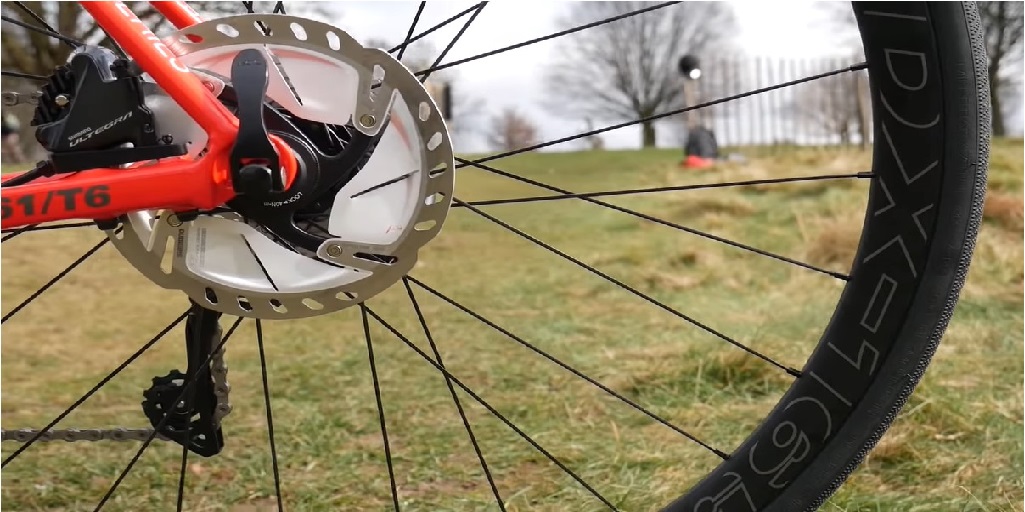
- For your brakes to function properly, the rotor of the brakes has to be smooth and straight. If it is not smooth, you should check the brakes as it is more likely to function improperly.
- The caliper and the rotor have to be aligned perfectly if you want your brakes to function smoothly. So, keep this in mind as well.
- One of the most important parts of a disc brake is the brake pad. The pads must be kept in the correct manner in order to avoid any failure of the brakes.
- Finally, a brake is considered to be functioning properly if it has an efficient lever mechanism. How do you know if the mechanism is efficient or not? It’s simple.
- If you see the lever pushing the brake pad hard against the rotor, then the lever is functioning properly.
- Also, there will be some lever to spare as well. You can immediately tell if a bike is the best mountain bike or not by simply judging it’s lever mechanism.
Adjusting the Brake’s Cable
Now that you know all about the proper functioning of a disc brake, it’s time to know about adjusting the cable. Adjusting the cable of the bike requires two main things to do.
First one is to align the caliper mechanism and the second one is to adjust the tension of the cable. Let’s see how you can align and adjust them.
Caliper Mechanism Alignment
To align the caliper, first of all, you have to make the bolts lose. These bolts can be found holding the main part of the disc brake.
They hold the main part onto the mounting fork or yoke.
One of the bolts is above the caliper and the other one is below it. They aim parallel to the axis of the rotor. You don’t have to take the whole bolt out. You can simply loosen the bolt enough to allow the rotor to move a bit.
- If you find the caliper crooked or not in the center position of the rotor, you can move it a little to adjust the caliper. After positioning the caliper, you have to turn the inside pad adjuster.
- Turn it until it merely touches the rotor.
- When you are done with the inside one, turn the outside adjuster same way. But this time let the adjuster tightly grasp the rotor instead of letting it touch softly.
- This hard touch will make the caliper align with the rotor.
- Finally, you are done with the alignment of the caliper.
Cable Tension Adjustment
Now comes the main part of the job. You have to adjust the cable now. Adjusting the cable mainly refers to adjusting the tension of the cable.
To do so, you have to follow the given way.
First of all, make sure the cable is loose. When it is loose, you have to push the activating arm of the brake. Keep pushing this arm upward. When the cable stops moving you have to stop pushing the arm.
Now, you will see that the pads have been pushed against the rotor. Now you have to go back to about half to a quarter-inch of the length of the cable.
As you have gone back, make the cable tight. To check if the brake feels comfortable or not, you can grasp the lever of the brake and test.
When the brake is at it’s full, you will generally have a one-inch gap between the lever of the brake and handle of the bikes. Now you are done with the cable adjustment as well.
Additional Tasks to Do
Just by learning about adjusting the cable of the brake you cannot get away with brake problems. There are some more things that you should keep in mind.
Changing the Pads
If you ever have to change the pads of the brake, this is how you can do it. At first, take out the wheel of the bike. Now hold the handle of the pad. Move the handle gently inside the slot. Then pull nicely.
You will see the pad sliding out.Turn the adjuster of the pad so the space of the caliper is widened. This is how you can make room for thicker pads as well.
The inside and outside pads are different and they are specified as well. So, you can insert the new pads easily.
You have to keep pushing the pad until you feel that it has been placed perfectly. Then reattach the wheel and you are done with the new brake pads.
Lever Mechanism Adjustment
To adjust the lever of the brakes, first of all, push the lever to see if it’s too tight or too loose. Either way, you have to unscrew the lever. This doesn’t mean you have to unscrew it from the handle.
You have to unscrew it from the inside and then screw it again after positioning the cable. When you are done with this check if you feel comfortable with the lever.
If it’s still too tight or loose you can continue the same process until you reach your comfort zone.
Final Verdict
My final tips for you on adjusting the brake cable of the bike would be to check the cable at least once a month.
If you see the cable becoming too loose or too tight you have to adjust the cable with proper tension on it. Safety should always be your first priority. Happy riding.